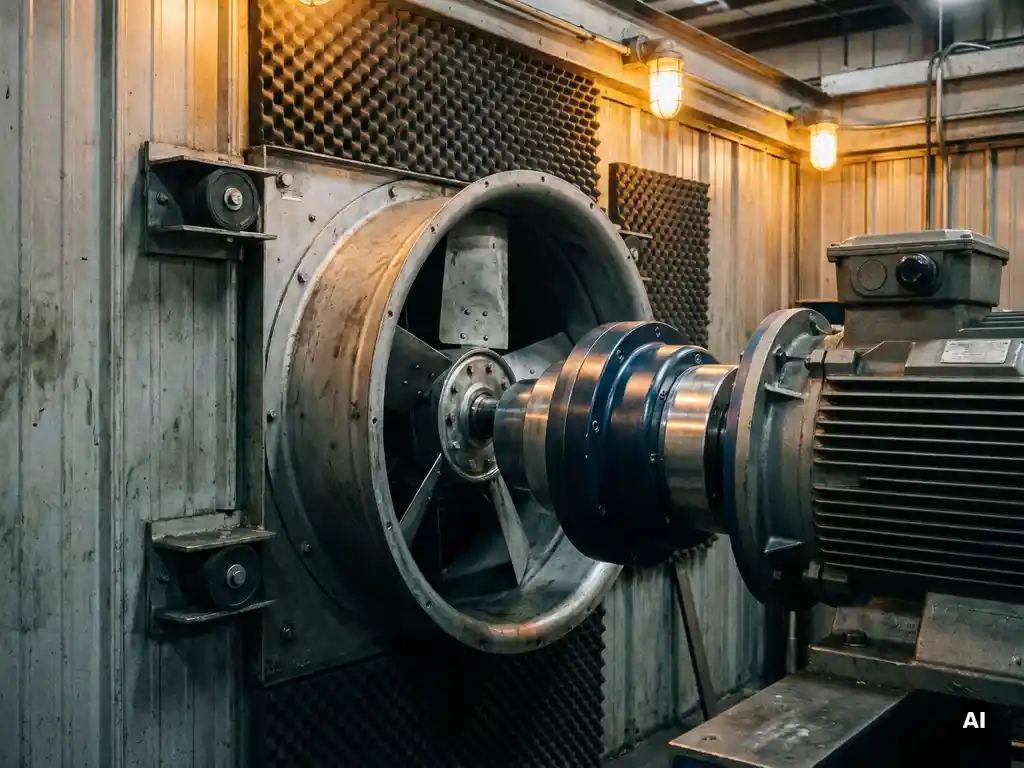
Industrial fans are workhorses in manufacturing plants, HVAC systems, water treatment facilities, and processing operations worldwide. But when they run loudly, the consequences go beyond discomfort. Excessive fan noise signals underlying mechanical problems, accelerates component wear, creates compliance risks under occupational noise regulations, and often points to energy being wasted. Knowing how to make an industrial fan quieter means more than fitting a silencer. It means systematically eliminating the root causes of noise one by one.
This guide walks through each stage of industrial fan noise reduction in sequence, from diagnosing the source through to verifying that your results hold over time. Follow the steps in order, since each stage builds on the last.
Identify the source of industrial fan noise
Before you adjust anything, you need to know exactly what is generating the noise. Industrial fan noise falls into two broad categories: mechanical noise and aerodynamic noise. Treating the wrong category wastes time and money, so start with a structured diagnosis.
- Run the fan at normal operating speed and listen for the character of the noise. A rhythmic knocking or grinding points to mechanical causes such as bearing wear, imbalance, or loose components. A broadband rushing sound or tonal whine is more likely aerodynamic in origin.
- Use a vibration analyzer or a simple handheld accelerometer to measure vibration at the bearing housings. Elevated vibration at the rotational frequency (1x) typically indicates imbalance. Vibration at twice the rotational frequency (2x) often points to misalignment.
- Check for structural resonance by varying fan speed slightly. If the noise level changes disproportionately at certain speeds, a structural natural frequency is being excited.
- Inspect the inlet and outlet for obstructions, damaged blades, or irregular airflow patterns that could generate turbulence noise.
Document your findings before moving on. A clear diagnosis record tells you which of the following steps to prioritize and gives you a baseline for measuring improvement later. Most industrial fan noise reduction projects find that mechanical causes account for the majority of the problem, so the next two steps address those first.
Correct imbalance and misalignment issues
Imbalance and misalignment are among the most common causes of elevated fan noise and vibration. Both create cyclical forces that radiate as sound through the fan housing, ductwork, and connected structure. Correcting them often produces the single largest noise reduction of any step in this process.
Correcting imbalance
- Shut down the fan and inspect the impeller for material buildup, erosion, or damaged blades. Even a small asymmetric deposit of dust or process material can create significant imbalance at operating speed.
- Clean the impeller thoroughly and reinspect. If blades are damaged, repair or replace them before proceeding to balancing.
- Perform dynamic balancing in place using a portable balancing instrument. Add or remove trial weights in the correction planes specified by the instrument, iterating until residual imbalance falls within ISO 1940 Grade G6.3 or better for fans in general industrial service.
Correcting misalignment
- Check shaft alignment between the motor and the fan using a laser alignment tool. Measure both angular and parallel misalignment in the horizontal and vertical planes.
- Adjust the motor position using shims and the mounting feet until both angular and parallel misalignment are within the coupling manufacturer's tolerances. For most applications, parallel misalignment should be below 0.05 mm and angular misalignment below 0.05 mm per 100 mm of coupling diameter.
- Re-torque all fasteners and recheck alignment after tightening, since tightening the feet can shift the motor position slightly.
After completing both corrections, run the fan and re-measure vibration at the bearing housings. You should see a clear reduction in 1x and 2x vibration amplitude. If significant vibration remains, the coupling itself may be transmitting forces that realignment alone cannot resolve, which the next step addresses.
Reduce vibration transmission to connected structures
Even a well-balanced, well-aligned fan will radiate noise into a building or structure if vibration transmits freely through its mounting points. Isolating the fan from its supporting structure is a straightforward step that significantly reduces structure-borne noise reaching occupied areas.
- Inspect the existing mounting arrangement. Determine whether anti-vibration mounts are already fitted and, if so, whether they are correctly sized and in serviceable condition. Compressed, cracked, or hardened isolators lose their effectiveness and should be replaced.
- Select anti-vibration mounts rated for the static load of the fan and motor assembly, with a natural frequency well below the lowest operating speed of the fan. As a rule of thumb, the mount natural frequency should be no more than one-third of the lowest excitation frequency.
- Install flexible duct connections between the fan and the ductwork on both the inlet and outlet sides. Rigid duct connections bypass the isolation mounts entirely and transmit vibration directly into the duct system.
- Check all pipe and conduit connections to the fan casing. Any rigid connection that bridges the isolation mounts creates a short-circuit path for vibration. Fit flexible sections wherever these connections exist.
After fitting or replacing isolation mounts and flexible connections, measure vibration levels on the supporting structure rather than on the fan itself. A successful isolation installation will show a substantial reduction in structure vibration even if fan body vibration remains similar. This step is particularly important in buildings where fan noise travels through floors and walls to reach sensitive areas.
Eliminate mechanical contact as a noise source
One of the most persistent but least obvious sources of industrial fan noise is the mechanical coupling between the motor and the fan shaft. Conventional couplings, whether jaw, pin-and-bush, gear, or grid types, all maintain physical contact between the driving and driven elements. That contact transmits torsional vibration, shock loads, and misalignment forces directly into both the motor and the fan bearings, generating noise and accelerating wear.
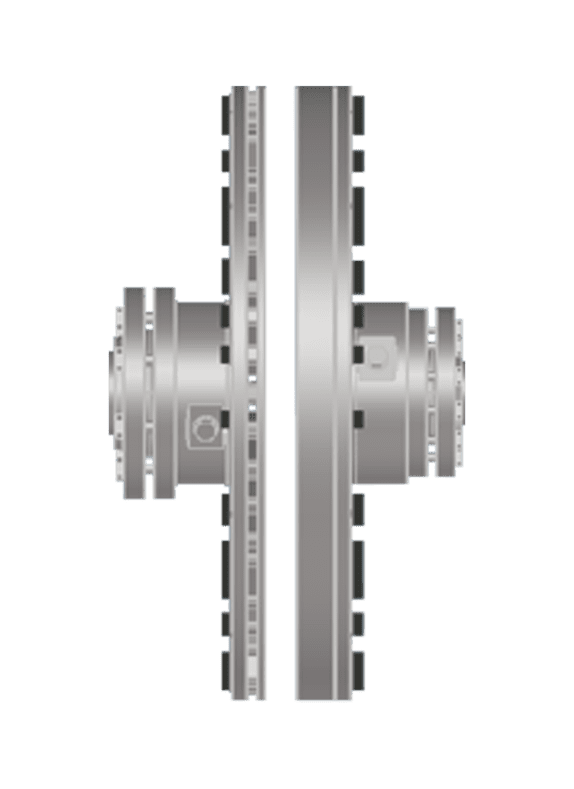
Replacing a conventional coupling with a non-contact magnetic drive eliminates this entire noise pathway. A non-contact drive transmits torque across an air gap using eddy current magnetic coupling, with no physical interface between the motor and the fan shaft. Because there is no contact, torsional vibration cannot propagate through the coupling, misalignment forces are structurally eliminated rather than merely absorbed, and shock loads from process upsets do not reach the motor or fan bearings.
For variable-speed fan applications, a non-contact drive also removes the need for a variable frequency drive in many installations, eliminating the harmonic distortion and high-frequency electrical noise that VFDs can introduce into motor windings and bearings. The practical result is a drivetrain that runs measurably quieter, with vibration levels at the bearing housings reduced by as much as 80% compared to a conventionally coupled installation.
When evaluating this option, verify that the replacement coupling is sized directly from the motor power and speed without service factor inflation. Non-contact couplings do not require service factors because torque peaks cannot generate mechanical shock within the coupling, which means the selected unit is optimally sized rather than oversized, keeping drivetrain inertia and stress at a minimum.
Control airflow-generated noise at the source
Once mechanical noise sources are under control, aerodynamic noise becomes the dominant concern in many fan installations. Airflow noise is generated by turbulence at the blade tips, flow separation on blade surfaces, inlet distortion, and interaction between the rotating blades and stationary structures such as inlet bellmouths, guide vanes, and cutoff plates.
- Inspect the inlet conditions. Turbulent or asymmetric inlet flow significantly increases blade-passing noise. Ensure the inlet duct is straight for a length of at least three duct diameters upstream of the fan. If space does not allow this, fit an inlet flow straightener.
- Check the blade tip clearance between the impeller and the fan casing. Excessive clearance allows recirculation at the blade tips, which is a major source of broadband noise. Restore clearance to the manufacturer's specification if wear has increased the gap.
- Evaluate the fan operating point against its performance curve. Fans running far from their design point, particularly in stall or surge, generate substantially more noise than fans operating near their best efficiency point. If the system resistance has changed since installation, adjust the system or consider a different blade angle or impeller configuration.
- Where noise limits require further reduction after addressing the above, fit acoustic attenuators on the inlet and outlet. Size attenuators to target the dominant frequency range identified in your initial diagnosis, balancing acoustic performance against acceptable pressure drop.
Verify each aerodynamic correction by measuring sound pressure levels at a consistent reference point before and after each change. Aerodynamic improvements compound with the mechanical corrections already made, so the cumulative noise reduction at this stage is typically greater than any single measure achieved alone.
Verify noise reduction and sustain results over time
Completing the previous steps delivers measurable fan noise reduction, but the results only hold if you verify them systematically and put monitoring in place to catch deterioration early. Noise levels that creep back up over months are a reliable indicator that a root cause has returned or a new one has developed.
- Conduct a post-intervention noise and vibration survey using the same measurement positions and conditions as your initial baseline. Record sound pressure levels in dB(A) and vibration velocity in mm/s at each bearing housing. Compare directly against baseline figures to quantify the improvement.
- Document the final state of all corrected parameters: residual imbalance grade, alignment readings, mount condition, coupling type, and operating point on the fan curve. This record becomes the reference for future maintenance decisions.
- Set up periodic monitoring intervals appropriate to the criticality of the fan. For process-critical fans, monthly vibration trending is common practice. For less critical units, quarterly checks are typically sufficient.
- Define alert thresholds for vibration amplitude and noise level that trigger investigation before a problem becomes a failure. ISO 10816 provides guidance on vibration severity limits for different machine classes and mounting conditions.
Sustaining low noise levels over time is largely a function of drivetrain condition. Bearing wear, blade erosion, and coupling degradation all reintroduce the noise sources you have worked to eliminate. If your installation uses a non-contact drive, the absence of wear components in the coupling removes one of the most common recurrence pathways, reducing the frequency of intervention needed to maintain results.
How Zytec helps with industrial fan noise reduction
Zytec's non-contact drive technology offers a direct solution to the mechanical noise and vibration problems that affect industrial fan installations. By replacing conventional couplings with a magnetic drive that transmits torque across an air gap, Zytec removes physical contact from the drivetrain entirely. The practical benefits for fan noise control are concrete:
- Vibration reduction up to 80% by eliminating the transmission of torsional shock, misalignment forces, and coupling-induced excitation into the fan and motor bearings.
- No alignment requirement during installation, removing the risk of noise recurrence from alignment drift over time.
- Variable speed control through the V-TORQ non-contact drive, enabling the fan to run closer to its best efficiency point and reducing aerodynamic noise at part load without the harmonic distortion associated with variable frequency drives.
- Maintenance-free coupling operation over the long term, sustaining noise reduction results without repeated intervention.
- Energy savings up to 50% when combined with speed control, addressing both noise and operating cost in a single upgrade.
If your fan installation continues to generate excessive noise despite conventional corrective measures, or if you want to address noise, vibration, and energy consumption together, contact Zytec to discuss which non-contact drive solution fits your specific application.
Frequently Asked Questions
How do I know whether my industrial fan noise is primarily mechanical or aerodynamic in origin?
The character of the noise is your first clue: rhythmic knocking, grinding, or tonal vibration at specific frequencies points to mechanical causes such as imbalance, misalignment, or bearing wear, while a broadband rushing sound or a whine that varies with airflow suggests aerodynamic origins. A quick way to confirm this is to run the fan with the inlet and outlet temporarily unloaded and compare noise levels against normal operating conditions — a significant drop in noise under unloaded conditions confirms an aerodynamic contribution. Using a vibration analyzer to check for elevated 1x and 2x frequency components at the bearing housings will confirm mechanical causes before you invest time in aerodynamic corrections.
What are the most common mistakes made when trying to reduce industrial fan noise?
The single most common mistake is treating symptoms rather than root causes — for example, adding acoustic enclosures or silencers before correcting imbalance, misalignment, or a worn coupling. This approach masks the problem temporarily but allows the underlying mechanical deterioration to continue, leading to premature bearing failure and noise recurrence. Another frequent error is neglecting flexible connections on ductwork and pipework after fitting anti-vibration mounts, which effectively short-circuits the isolation and allows structure-borne vibration to bypass the mounts entirely. Always work through mechanical corrections in sequence before applying acoustic treatments.
How much noise reduction can I realistically expect after completing all the steps in this process?
The total achievable reduction depends on the mix of noise sources present in your specific installation, but combined mechanical and aerodynamic corrections routinely deliver 10–15 dB(A) of reduction in real-world fan installations — which is perceived as roughly a 50–75% decrease in loudness. Replacing a conventional coupling with a non-contact magnetic drive alone has demonstrated vibration reductions of up to 80% at the bearing housings, which translates directly into measurable sound level reductions. The key is to measure at each stage so you can quantify the contribution of each intervention and identify whether further improvement is still available.
Can these noise reduction steps be applied to fans already installed in an operating facility, or does the fan need to be taken offline?
Most of the diagnostic steps — noise measurements, vibration analysis, and operating point checks — can be performed while the fan is running without interruption to production. However, the corrective steps such as dynamic balancing, shaft alignment, anti-vibration mount replacement, and coupling upgrades all require the fan to be safely isolated and locked out before work begins. A practical approach for critical applications is to complete all diagnostics during normal operation, plan the corrective work as a single coordinated shutdown, and return the fan to service with all corrections implemented at once to minimize production downtime.
How often should I re-check alignment and balance after completing the initial corrections?
For process-critical fans, a vibration survey at the bearing housings every one to three months is standard practice, since this will detect the early onset of imbalance from blade erosion or material buildup and alignment drift from thermal cycling or foundation settlement before noise levels rise significantly. For less critical units, quarterly or semi-annual checks are typically sufficient. If your installation uses a non-contact magnetic drive, the coupling itself introduces no alignment-sensitive wear components, so recurrence from coupling degradation is eliminated and monitoring intervals can often be extended compared to conventionally coupled fans.
Is it worth fitting acoustic enclosures or silencers if I haven't yet addressed the mechanical root causes?
Acoustic enclosures and silencers are legitimate tools, but they should be the last step rather than the first. Fitting them before correcting imbalance, misalignment, or coupling problems means you are spending budget on acoustic treatment while the mechanical deterioration continues to worsen inside the enclosure — often accelerating bearing and impeller wear. Address all mechanical and aerodynamic root causes first, then use acoustic attenuators to close the gap between the residual noise level and your target if one still exists. At that point, the attenuators are sized for a much smaller problem, reducing their cost and the pressure drop penalty they impose on the system.
What occupational noise regulations should I be aware of when assessing industrial fan noise in a workplace?
In most jurisdictions, occupational noise regulations set a lower exposure action value at 80 dB(A) as an eight-hour time-weighted average, with an upper action value at 85 dB(A) and an absolute exposure limit of 87 dB(A). In the EU, these thresholds are defined under the Noise at Work Directive (2003/10/EC), while the US follows OSHA 29 CFR 1910.95 with similar limits. Exceeding the lower action value triggers requirements for noise assessments, hearing protection provision, and health surveillance — making proactive fan noise reduction not just a maintenance decision but a legal compliance obligation. Always cross-reference your post-intervention noise measurements against the specific regulations applicable in your country and industry sector.